This is a short guide on how to set up your Arduino environment to work with Tinusaur. The boards use the ATtiny85 microcontroller, so that guide might be useful for other similar boards.
IMPORTANT: This is NOT a guide on how to install and use the Arduino environment.
Prerequisites
You must have the Arduino environment installed and working properly. You can do this by going to https://www.arduino.cc/en/software and following the installation instructions.
Setup
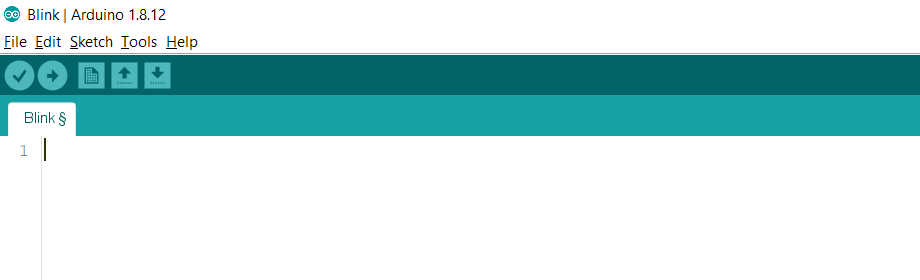
Start the Arduino Environment.
(1) Adding а description for additional boards
(or “Additional Boards Manager URLs”)
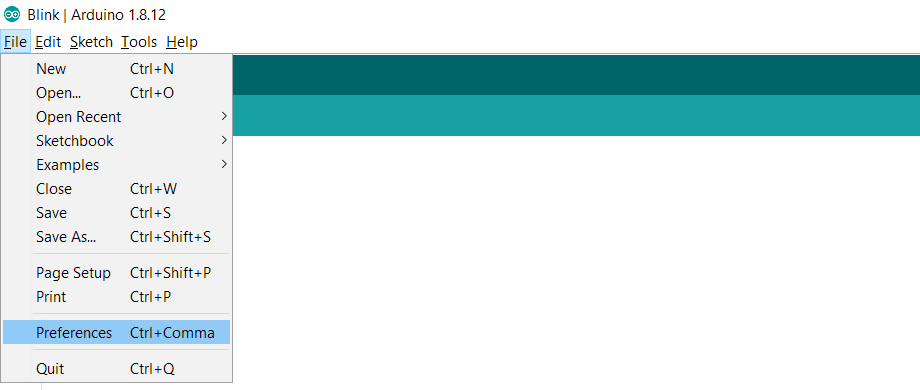
Open the File / Preferences menu.
Find the “Additional Boards Manager URLs” field..
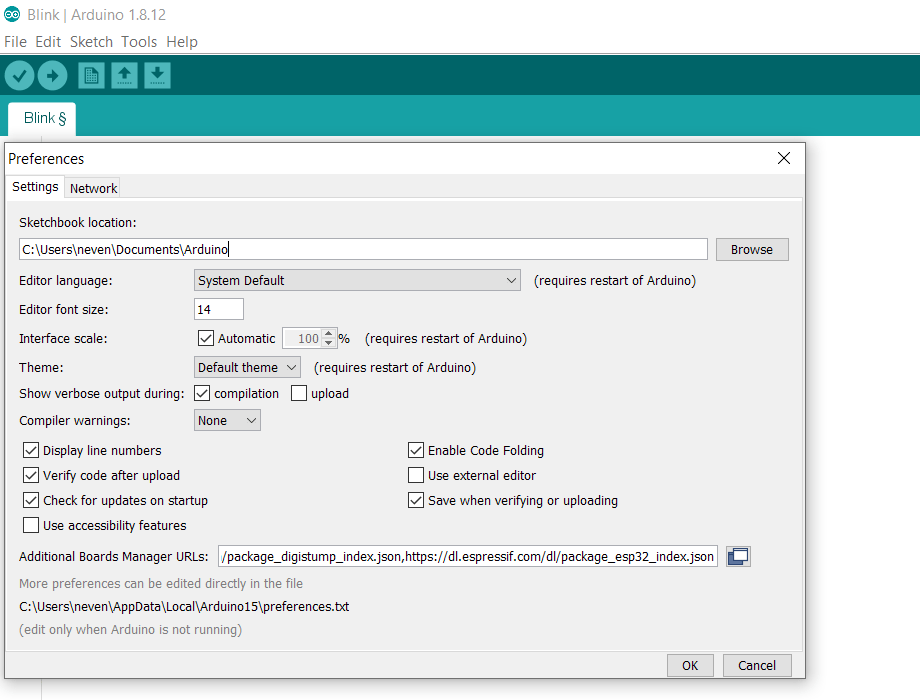
Immediately to its right, there is a button to open an additional dialog box – press it.
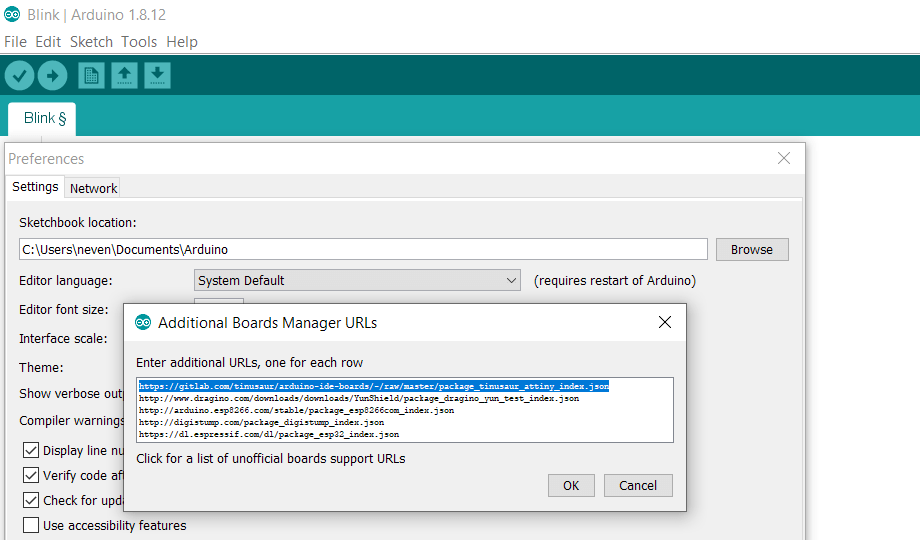
Enter the following link there:
https://gitlab.com/tinusaur/arduino-ide-boards/-/raw/master/package_tinusaur_attiny_index.json
IMPORTANT: Each link, as you can enter more than one, must be placed on a separate line.
- Click “OK” to close the URLs editing box.
- Click “OK” to close the “Preferences” window.
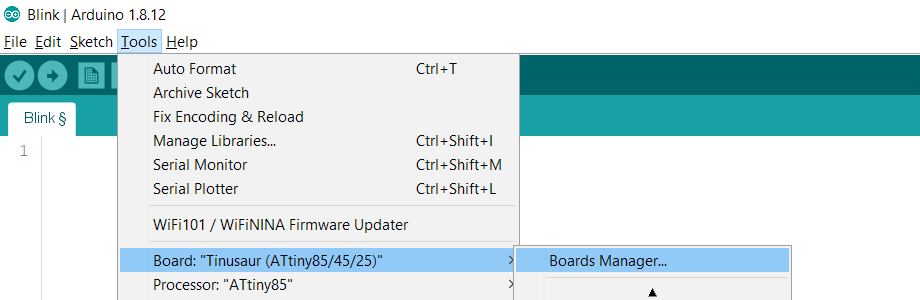
(2) Installation of the additional settings
Open the Tools / Board:… / Boards Manager menu.
Wait for all data to load. It might take a while.
Note: This requires an internet connection and can take up to several minutes.

Once everything is loaded, scroll down until you find “Tinusaur Boards”.
You can also type “Tinusaur” in the search box for faster access.
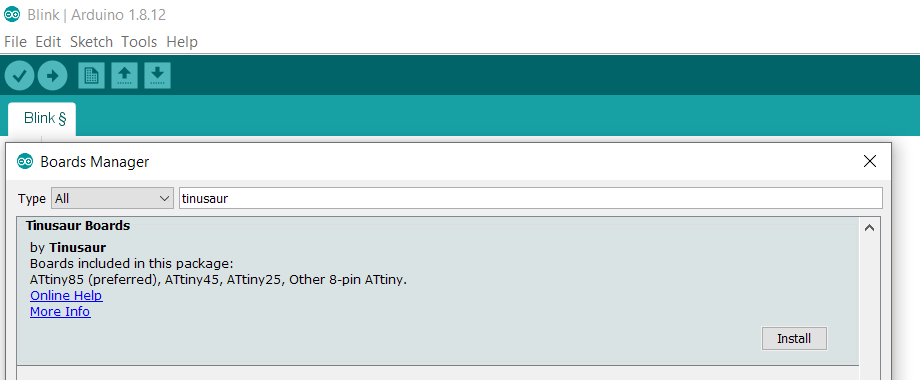
Once you find it, click the “Install” button.
This will install the necessary additional data to work with the Tinusaur boards.
Close the window by clicking the “Close” button.
(3) Selecting and settings for Tinusaur boards
Note: If everything went well during the previous steps, you will be able to complete the next ones.
Open the Tools / Boards menu … and scroll down until you find the “Tinusaur” section.
Select “Tinusaur …”.
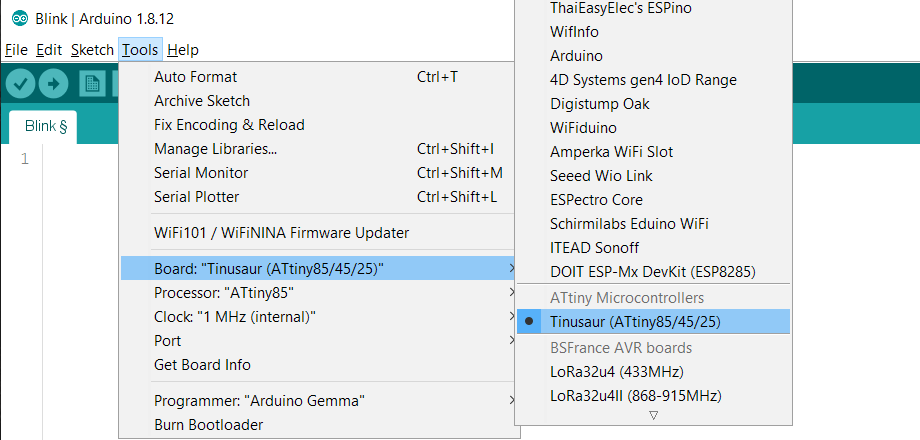
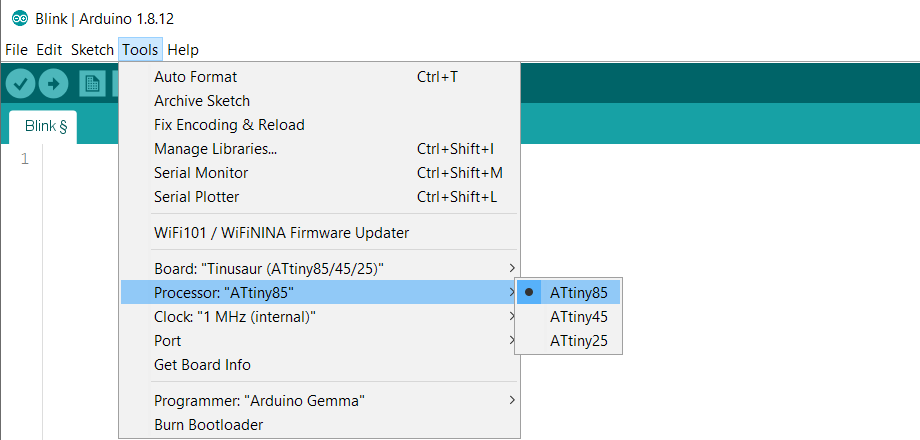
Additionally, you can select another ATtiny microcontroller variant if you use a different one. For example: ATtiny85, ATtiny45, or ATtiny25. You can do this from the Tools / Processor menu.
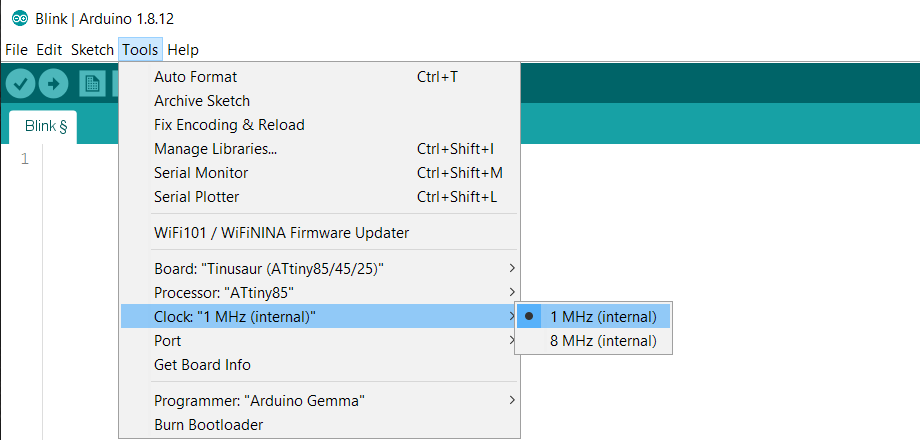
Additionally, you can select another clock speed for the microcontroller if you need it. For example: 1 MHz or 8 MHz. You can do this from the Tools / Clock menu.
Do this ONLY when you are fully aware of the consequences of changing the clock frequency – otherwise, your microcontroller may not work.
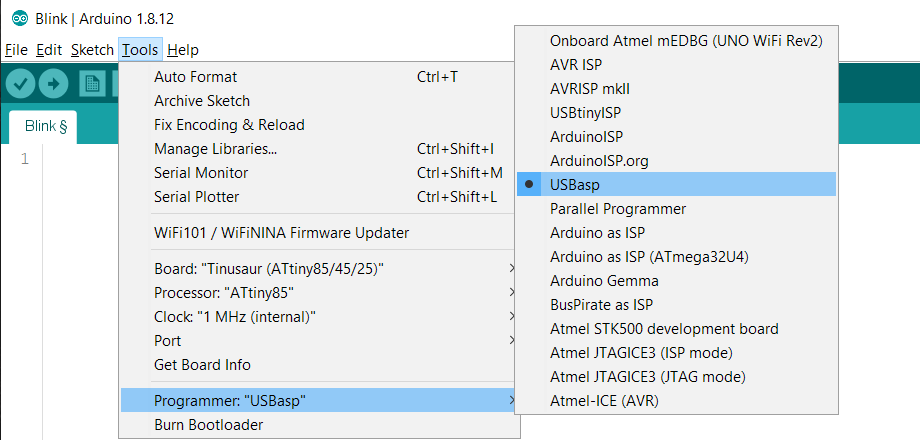
In order to be able to upload code to the microcontroller, you must also select the type of programmer you will use. You can do this from the Tools / Programmer menu. The Tinusaur boards are programmed with an USBasp. programmer, which you can select from this menu.
Testing
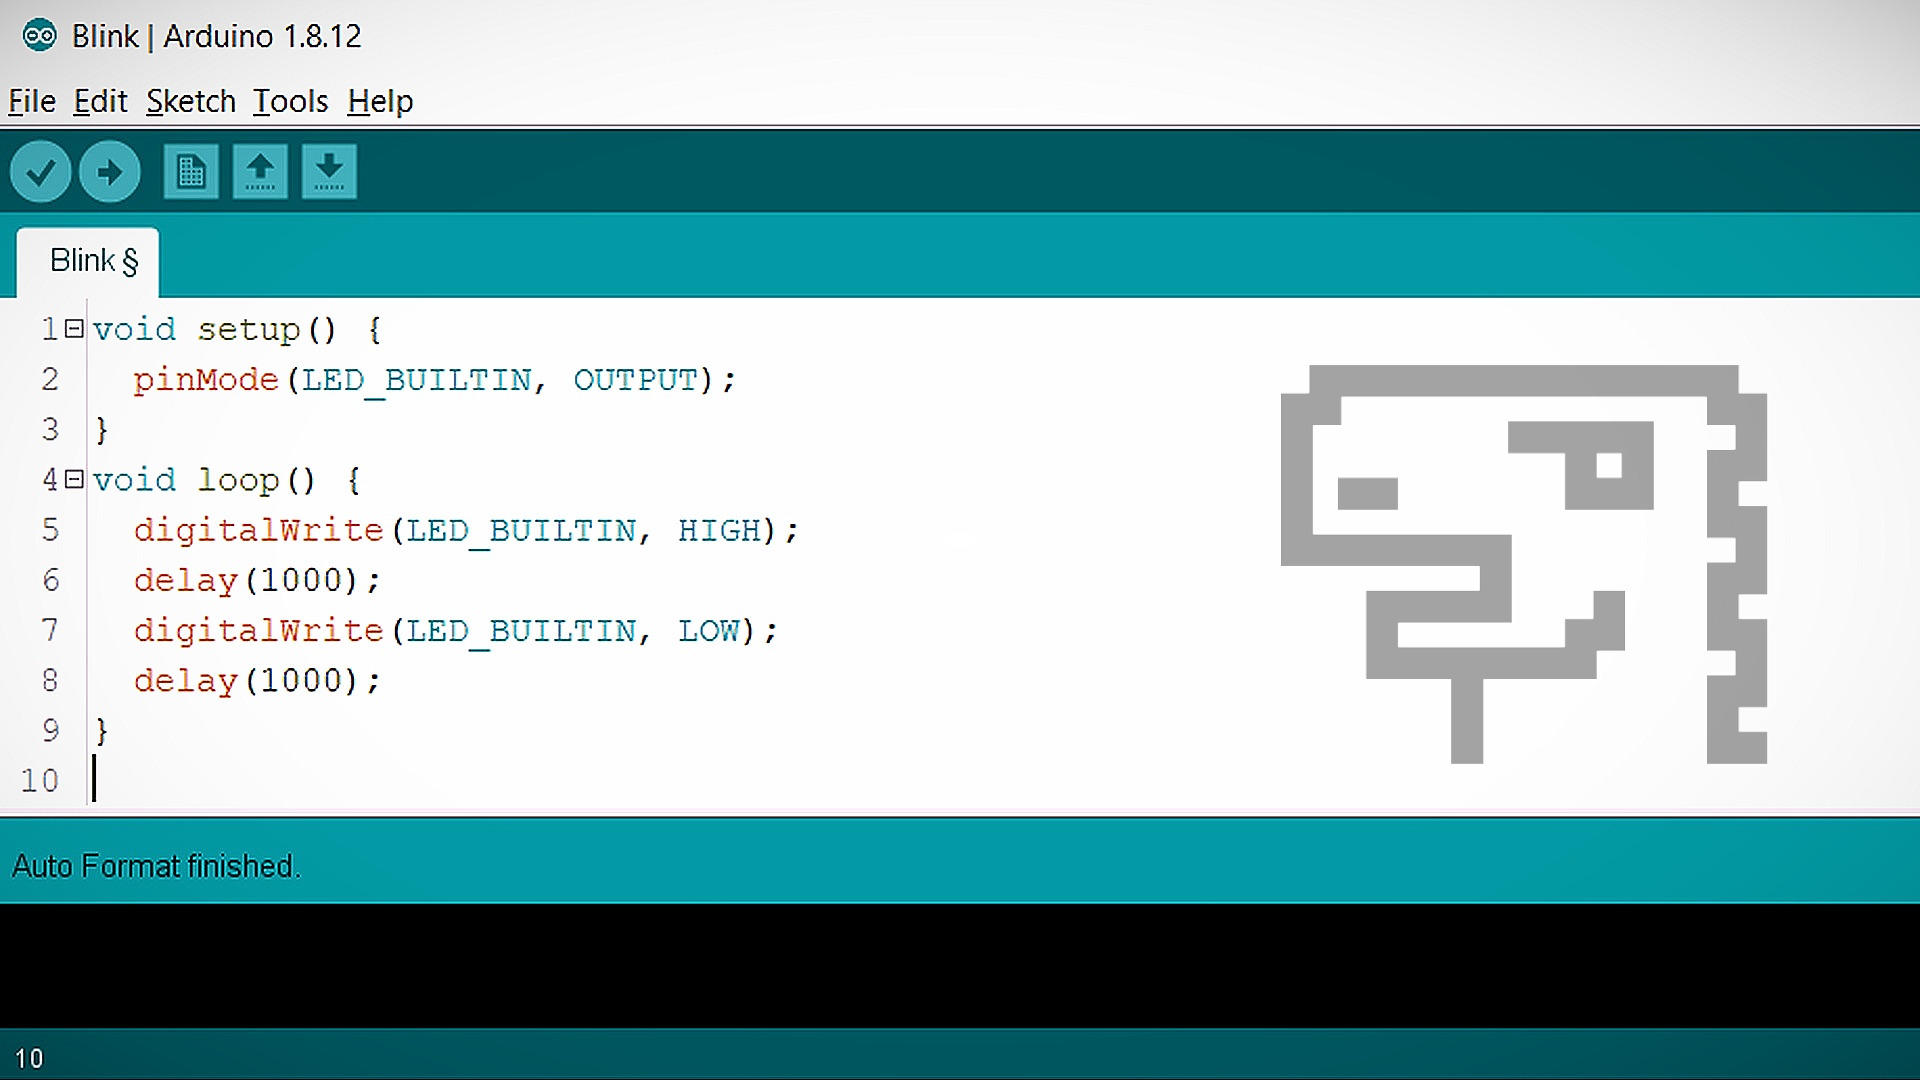
Testing of the settings made above is done by writing, compiling, and uploading some simple program.
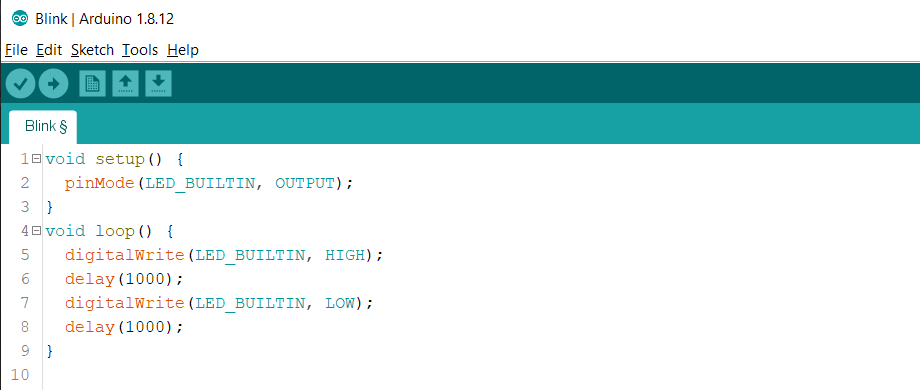
Here is a sample code:
void setup() {
  pinMode(LED_BUILTIN, OUTPUT);
}
void loop() {
  digitalWrite(LED_BUILTIN, HIGH);
  delay(1000);
  digitalWrite(LED_BUILTIN, LOW);
  delay(1000);
}
Note: To run this program, you will need: (1) a Tinusaur main board; (2) additional board Shield LEDx2 (or similar with at least one LED); (3) USBasp type programmer.
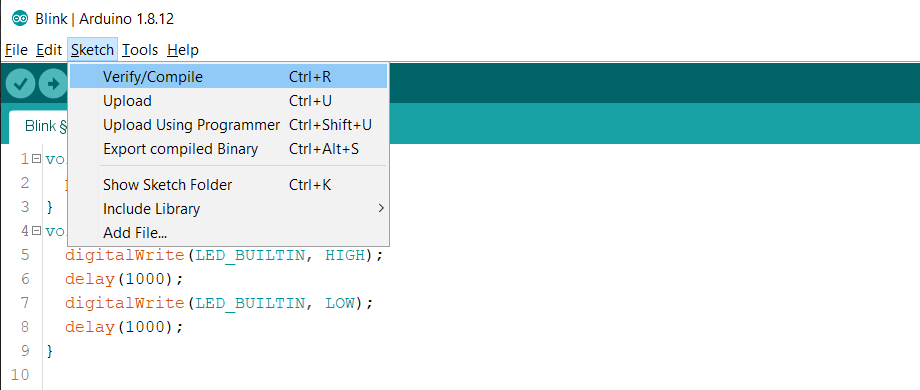
Compilation can be done from the Sketch / Verify-Compile menu or with the button at the top left. You can also use the keyboard shortcut CTRL + R.
Note: Compiling may take up to several minutes.
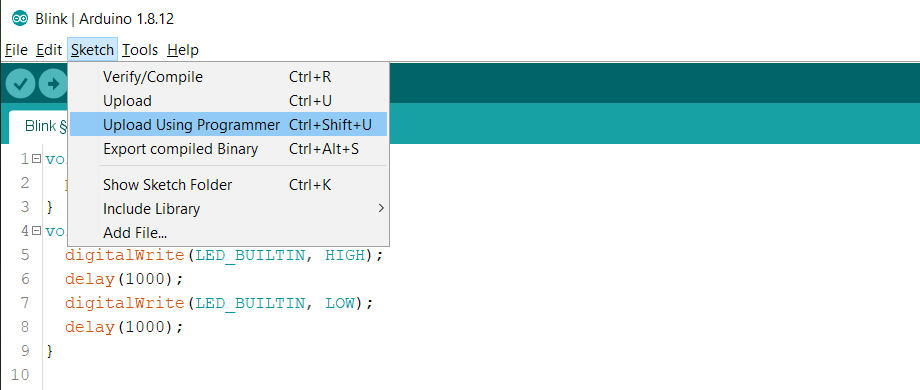
The program can be uploaded from the Sketch / Upload Using Programmer menu. The keyboard shortcut CTRL + SHIFT + U can also be used.
The expected result is the completion of the process without errors on the screen and the execution of the program code on the microcontroller. In the specific example code, this is a flashing red LED.